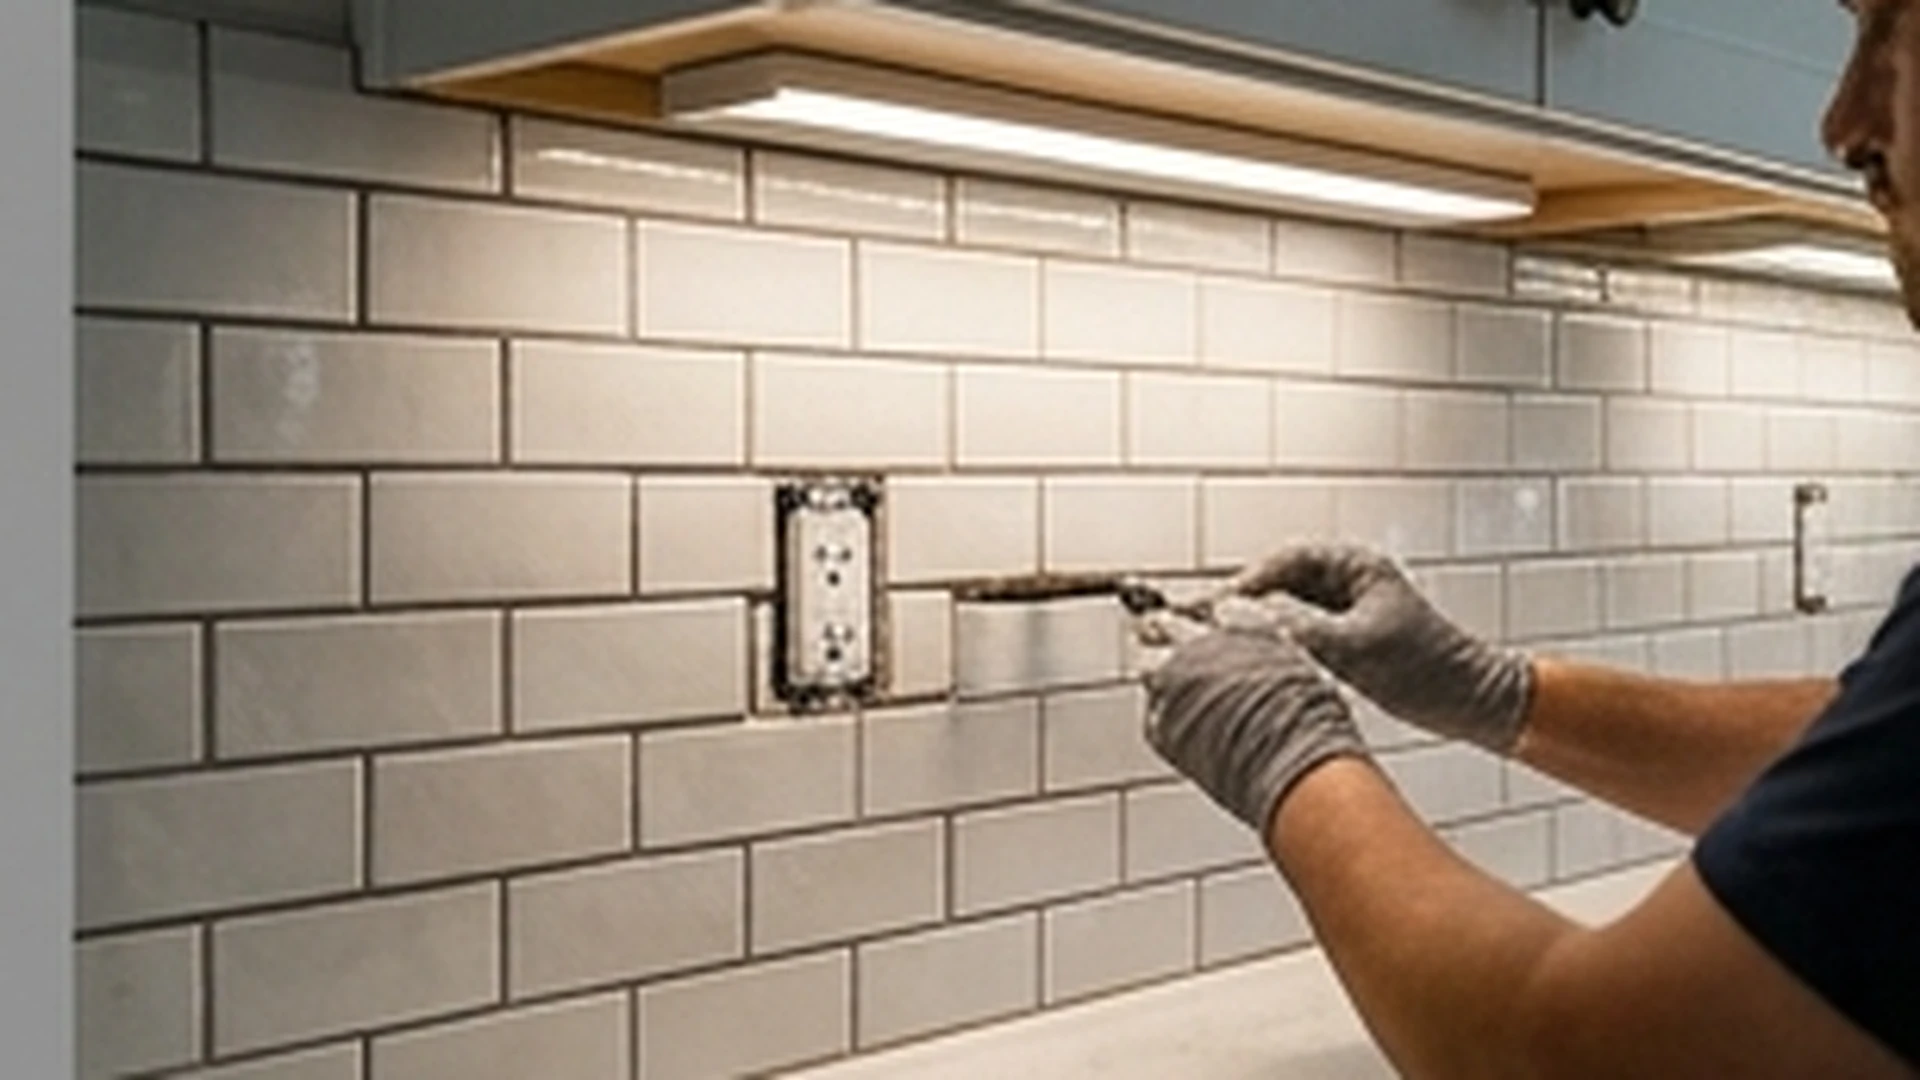
Kitchen painting and trim in Frederick

Surfaces & Finishes

Kitchen Painting and Trim in Frederick, MD

Kitchen wall paint, cabinet painting, crown molding, and base trim — done at the right point in the remodel so paint lines are clean, trim lands correctly, and the finish work doesn't get damaged by subsequent trades.

01Paint Goes on After Cabinets

Kitchen wall paint is applied after cabinets are installed but before final fixtures, hardware, and outlet covers are attached. This avoids painting around hardware (which leaves unfinished shadow lines if the hardware changes) and allows clean paint lines at cabinet edges. Painting before cabinets are in creates a surface that gets dinged and marked during installation.

02Cabinet Painting vs. Replacement

Painting existing kitchen cabinets is a way to update the look when the cabinet boxes and layout are sound. Cabinet painting requires thorough surface prep — cleaning, degreasing, sanding, and priming — before finish coats. Kitchen cabinets are in a high-moisture, high-grease environment. Skipping prep produces paint that peels within a year. The prep is the job; the paint is the last step.

03Trim Covers the Gaps

Crown molding at the top of upper cabinets, base molding at the floor, and window and door casings give a kitchen its finished character. They also hide the gaps and transitions that are inevitable in a remodel: the slight gap between cabinet top and ceiling, the expansion gap at the floor edge of flooring, the rough opening edge at windows. Good trim installation requires coped inside corners, not mitered, on painted profiles.

Frederick Kitchen Painting

Why Kitchen Painting Is Different from Painting Other Rooms

Kitchens are the most demanding interior painting environment. Steam, cooking grease, and frequent cleaning require paint that's properly prepared, correctly applied, and durable enough to be wiped down without the finish failing. Most kitchen wall failures trace to inadequate prep — painting over grease, using the wrong sheen level, or skipping primer on previously unpainted surfaces. Getting the kitchen painting right is a prep problem before it's a paint problem.

Cabinet Painting: What It Takes to Do It Right

Cabinet painting that lasts starts with removing all doors and drawer fronts. Hinges, hardware, and soft-close mechanisms removed and labeled. Face frames and doors cleaned with TSP or equivalent degreaser to remove kitchen grease. Sanded to create adhesion profile. Primed with a bonding primer. Finish coats in a satin or semi-gloss eggshell — kitchen cabinets need more sheen than walls for cleaning durability.

MDF doors paint well and are stable. Wood doors are more prone to grain raising and telegraphing through the paint, but with proper sanding between coats, the finish can be excellent. Factory-painted cabinets (from professional spray application) will typically look better than brush-and-roll field application; for kitchen cabinets where close inspection is common, professional spray application produces the smoothest result.

What We Paint in a Kitchen

  • Walls and ceiling (semi-gloss or satin for kitchen walls)
  • Cabinet boxes and faces (bonding primer, enamel topcoat)
  • Cabinet doors and drawer fronts (spray or brush-and-roll)
  • Window and door trim, baseboard, and crown molding

Trim Installation

  • Crown molding at upper cabinet-to-ceiling transition
  • Light rail molding at bottom of upper cabinets
  • Base shoe molding at flooring-to-baseboard transition
  • Window and door casing installation or refinishing
Paint Sequence in a Remodel

Kitchen Paint and Trim Process

1

Surface Prep

Cabinet cleaning and degreasing. Wall patching and sanding. Surfaces primed appropriately for the material and prior finish.

2

Ceiling and Wall Paint

Ceiling painted first. Walls cut in and rolled. Cabinet area protected with masking until cabinet painting begins.

3

Cabinet Painting

Doors and drawer fronts painted off-cabinet (spray or brush). Face frames painted in place. Hardware masked or removed.

4

Trim Installation and Touch-Up

Crown molding, base, and window trim installed and caulked. Painted to match or contrast. Final touch-up before hardware reinstall.

Paint Sheen in the Kitchen

The right paint sheen for kitchen walls is satin or semi-gloss — both are washable, which matters in a kitchen. Flat or eggshell paint looks good initially but shows cooking grease easily and doesn't clean well. Semi-gloss is more durable but more reflective — it shows surface imperfections and brush marks more clearly. Satin is the practical middle choice: clean-able, slightly reflective, forgiving of minor surface imperfections.

Two-Tone Cabinet Painting

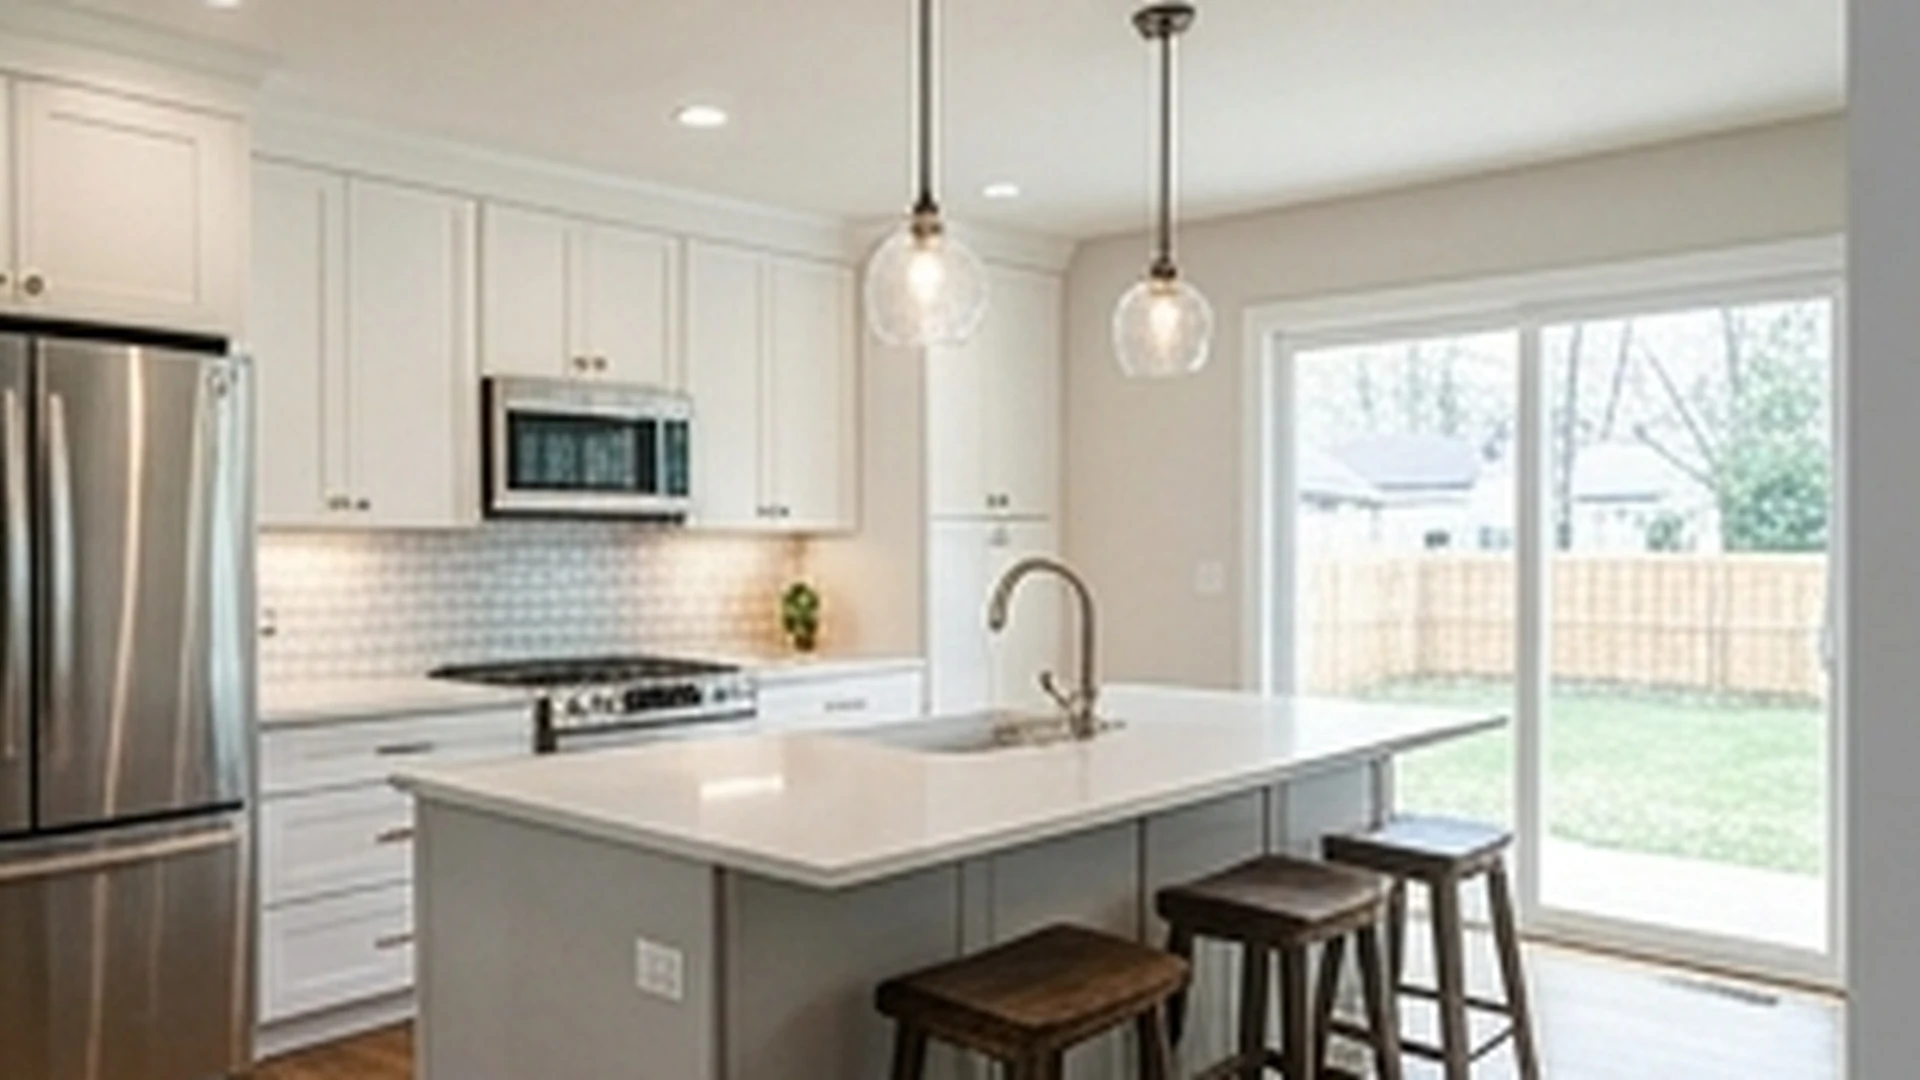
Two-tone kitchen cabinets — upper cabinets in one color and base cabinets in another, or the island in a contrasting color — are a popular approach in Frederick remodels that update the look without full cabinet replacement. The most common combination is white or light uppers with a navy, sage, or charcoal lower cabinet. Getting the color break at the right location (typically at the countertop line, not at the base of the uppers) makes the two-tone look intentional rather than accidental.

Crown Molding at Cabinets

Crown molding at the top of upper kitchen cabinets gives the kitchen a built-in, furniture-grade look. The crown hides the gap between cabinet top and ceiling and produces a crisp ceiling line. Standard stacked crown — a smaller piece of molding at the cabinet top with a larger profile above — is a common approach that reads as custom even in a standard kitchen. Crown molding installation in corners requires coping (not mitering) for inside corners to prevent visible gaps as the house moves seasonally.

Repainting vs. Refacing vs. Replacing

Painting existing cabinets is the least expensive update option when the cabinet layout, box construction, and door style are all acceptable. Refacing (new doors and veneer on existing boxes) makes sense when the door style needs to change but the layout doesn't. Full replacement is necessary when the layout needs to change or the boxes are damaged. The decision tree is: layout working? → boxes sound? → door style acceptable? If all three are yes, paint is the right scope. If any are no, escalate to refacing or replacement.

Frederick Kitchen Painting

Ready to Update Your Kitchen with Paint?

Wall paint, cabinet painting, or a combination — we'll tell you what prep is needed and give you an accurate estimate.

Request An Estimate

Kitchen Painting and Trim Questions

How long does kitchen cabinet painting take?

Cabinet painting for a standard kitchen — typically 10-20 doors and drawer fronts plus the face frames — takes 3-5 days when done properly. Day 1 is prep (clean, sand, prime). Days 2-3 are finish coats with adequate dry time between coats. Day 4-5 is reinstallation and touch-up. Rushing the dry time between coats is the most common cause of cabinet paint failures — the enamel needs to cure, not just dry.

What paint should I use for kitchen cabinets?

A hardened enamel — alkyd enamel, water-based alkyd, or a cabinet-specific waterborne enamel — is the appropriate product for kitchen cabinet painting. Standard interior latex paint, even in a semi-gloss sheen, is too soft for the kitchen environment and will show wear at door edges and finger contact points within a few years. Brands like Benjamin Moore Advance, Sherwin-Williams Emerald Urethane Trim, and similar products are designed for this application.

Can I paint my kitchen cabinets myself?

Yes, but the prep requirements are the same regardless of who does the work. Skipping the degreasing step, using the wrong primer, or not sanding between coats produces a finish that peels within a year in a kitchen environment. The painting itself is accessible for a careful DIYer; the surface prep is where most DIY cabinet paint jobs fail. If you want to do it yourself, budget the most time and attention for the prep phase.

Related Surfaces & Finishes Services