Backsplash installation in Frederick

Surfaces & Finishes

Backsplash Installation in Frederick, MD

Subway tile, mosaic, large-format, and stone backsplash installation — in the right sequence after countertops are installed, with careful layout planning so patterns land correctly at focal points.

01Sequence: Countertops First

Backsplash tile installs after the countertop is set — not before. The tile runs down to the countertop surface, and the last course is scribed or cut to fit the counter. Installing tile before the countertop is installed creates a gap at the countertop-to-tile joint that requires caulk to cover awkwardly. The sequence is countertop in, then tile to it.

02Layout Planning Before Tile Sets

How a tile pattern is laid out determines whether grout lines are symmetric around the focal point — typically the range or sink — or whether cuts land awkwardly at the visual center. Layout planning takes 20 minutes and prevents the most visible installation mistake: small slivers of cut tile at eye-level focal points.

03Grout Selection Is Part of the Design

Grout color changes the look of the same tile significantly. White subway tile with bright white grout reads almost seamless. The same tile with a gray or charcoal grout reads as a grid pattern. Both are correct; they just look different. The grout selection should be confirmed before installation begins — changing grout color after installation requires regrout, not just reapplication.

Frederick Kitchen Backsplash

More Options Than Most People Realize

The classic 3×6 subway tile is the most popular backsplash choice in Frederick kitchen remodels because it's timeless, relatively forgiving of layout imperfections, and available at almost any price point. But the range of options is much wider: large-format tile (12×24 or larger with minimal grout lines), handmade ceramic tile with slight texture variation, natural stone mosaic, quartz slab backsplash that matches the countertop, and more. The right choice depends on the cabinet color, countertop material, and the visual direction of the kitchen.

Backsplash Installation: What's Involved

Backsplash installation begins with surface prep — existing tile removal if applicable, surface patching, and primer application on drywall (or a cement board backer if the substrate is inadequate). The layout is planned and snapped before the first tile is set. Tile is set with appropriate thinset for the tile type. Outlet and switch covers are removed during installation, with cover plates reinstalled after grout cures.

Grout is applied after the thinset cures (typically 24 hours). Unsanded grout for joints under 1/8 inch; sanded or epoxy grout for wider joints. The countertop-to-tile joint is caulked, not grouted — this joint moves seasonally and grout will crack. The caulk color matches the grout.

Popular Backsplash Styles

  • 3×6 subway tile in running bond or stacked pattern
  • Handmade ceramic with glaze variation
  • Large-format tile (12×24 and larger) with minimal grout lines
  • Natural stone mosaic sheets

Specialty Backsplash Options

  • Full-height slab backsplash matching countertop material
  • Penny tile or hexagon mosaic for a kitchen accent
  • Zellige tile: handmade Moroccan tile with irregular surface
  • Cement tile: bold pattern, matte finish, sealed before grouting
Installation Sequence

Backsplash Installation Process

1

Surface Prep

Existing tile or surface removed if applicable. Wall patched and primed. Backer board installed if substrate needs upgrade for heavier tiles.

2

Layout Planning

Layout lines snapped. Tile pattern centered on focal point. Cut locations confirmed before first tile is set.

3

Tile Installation

Tile set with correct thinset for tile type. Outlets and switches removed. Cuts made to fit at walls and under cabinets. 24-hour cure.

4

Grout and Caulk

Grout applied and cleaned. Countertop-to-tile joint caulked with color-matched caulk. Outlet covers reinstalled. Sealant applied to stone or cement tile.

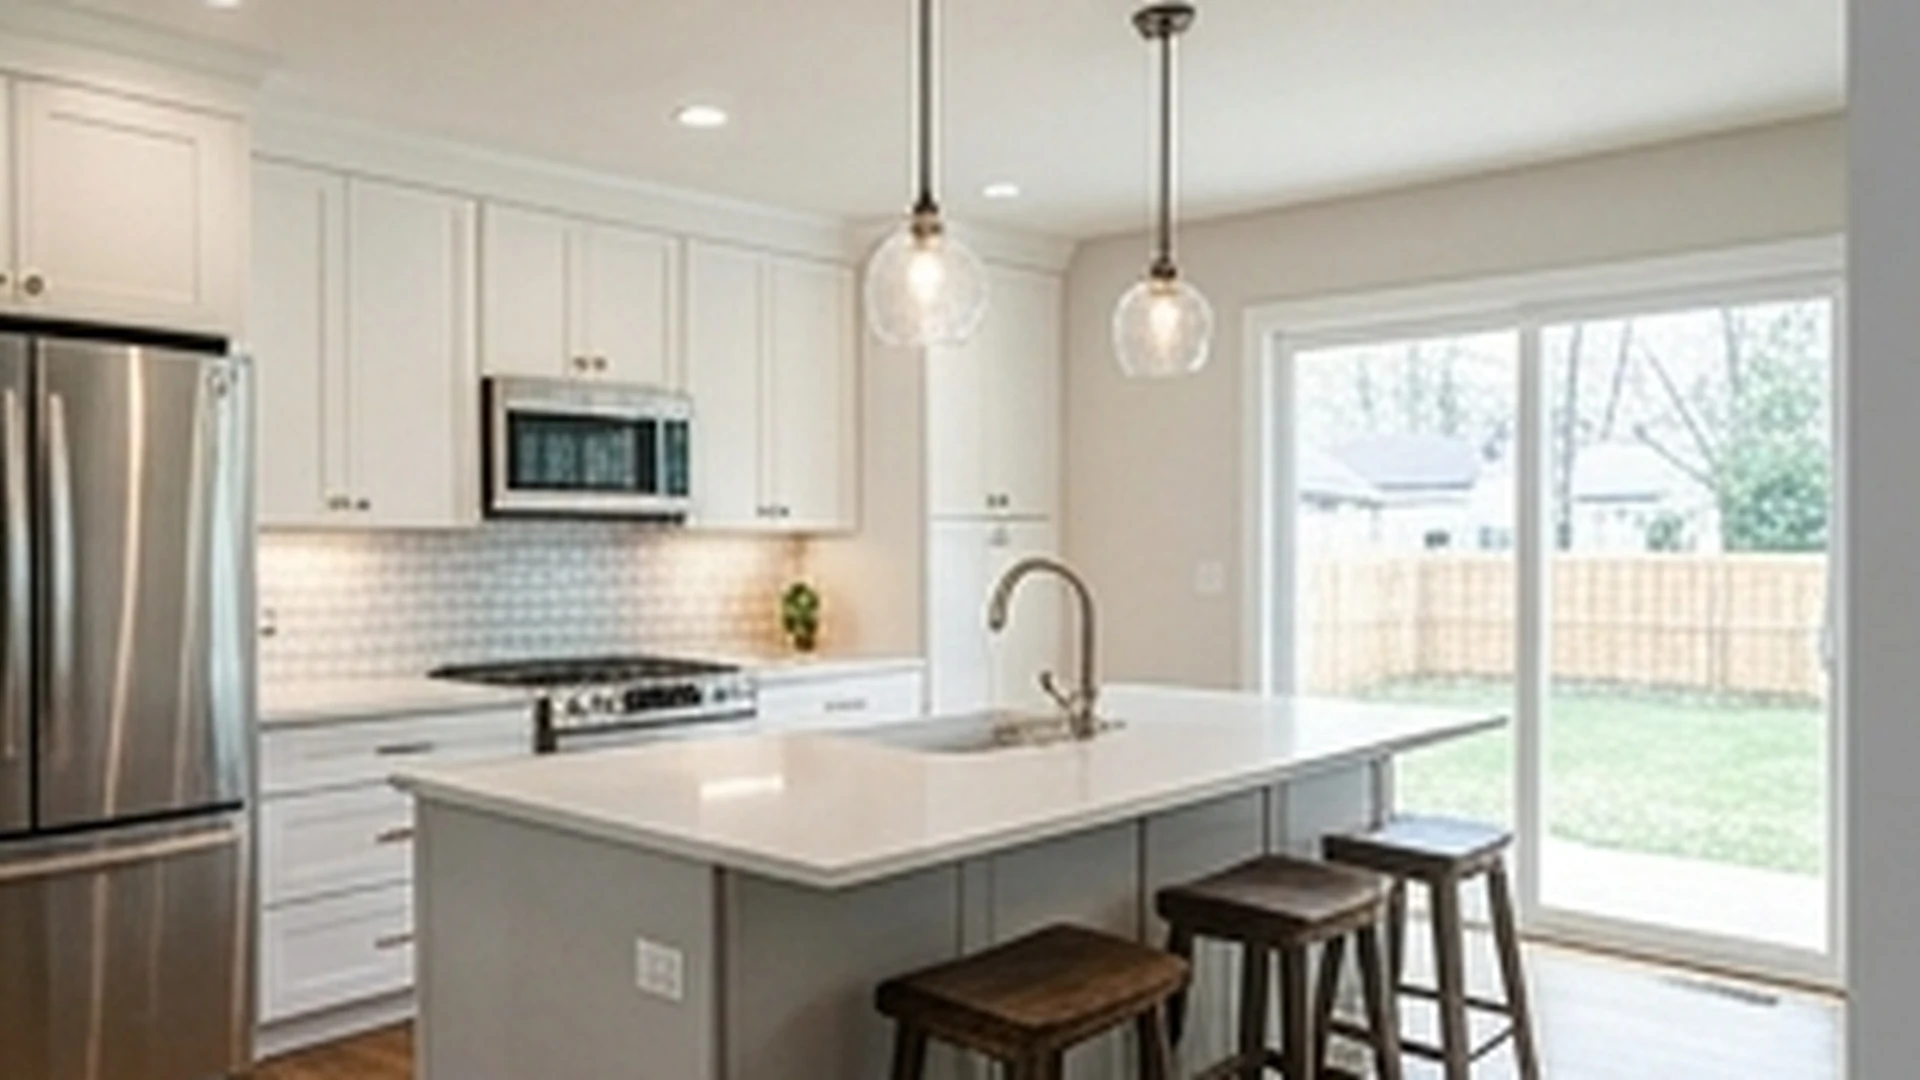
The Range Surround as Focal Point

The tile behind and above the range is the visual focal point of most kitchen backsplashes. A field tile that runs the entire backsplash looks clean and unified. A decorative accent or different pattern tile behind the range can become a deliberate focal point — a contrasting tile insert, a different pattern in the same material, or a specialty tile that would be expensive to run across the entire backsplash. Planning the range surround treatment during layout is key to getting this right.

Grout Joint Width and Pattern

Subway tile in running bond (traditional offset pattern) typically uses a 1/16 to 1/8 inch grout joint. The same tile laid in a stacked (aligned) pattern uses slightly larger joints for visual effect. Large-format tile (12×24) uses a 1/8 to 3/16 inch joint to allow for slight size variation. Smaller grout joints on large-format tile risk lippage — slight height differences between tiles that become visible when a joint is too narrow to accommodate them.

Removing Old Backsplash Tile

Removing existing backsplash tile often damages the drywall behind it. Original installation with mastic adhesive or improper thinset application means tile and wall face paper come off together. The extent of damage is difficult to predict before demo. Budget for drywall repair or replacement in the backsplash area when replacing existing tile — it's not always needed, but it's commonly encountered in Frederick kitchens where the original tile was installed before cement backer board was standard.

Window and Cabinet Transitions

The tile-to-window casing transition and the tile-to-upper-cabinet transition are the most detail-intensive parts of a backsplash installation. The tile edge can be finished with a matching bullnose tile (a tile with a finished rounded edge), a metal edge trim, or a caulk line. The best-looking result depends on the tile type — some tiles have matching bullnose; others don't. We discuss the edge treatment at the layout planning stage so materials are ordered correctly.

Frederick Backsplash Installation

Ready for a New Kitchen Backsplash?

We'll measure the area, discuss tile options, and give you an accurate installation estimate.

Request An Estimate

Backsplash Installation Questions

How much tile do I need for a kitchen backsplash?

Measure the linear feet of wall above the countertop (from counter surface to the bottom of the upper cabinets) and multiply by the backsplash height (typically 18 inches, or 1.5 feet). Add 10-15% for waste and cuts. For a kitchen with 20 linear feet of countertop at standard 18-inch height, you'd need approximately 30-35 square feet of tile after adding waste allowance.

How long does backsplash installation take?

A standard kitchen backsplash install takes 1-2 days: one day for setting the tile, and one day (after 24-hour cure) for grouting and caulking. Larger, more complex backsplashes with pattern tile, decorative inserts, or full-height coverage above tall uppers can take 2-3 days. The kitchen is usable during installation — only the outlets and switches in the backsplash area are off while the tile sets.

Should I use grout or caulk at the countertop-to-tile joint?

Always caulk, never grout. The joint between the countertop and the backsplash tile is a change-of-plane joint that moves as the two surfaces expand and contract at different rates and on different substrates. Grout at this joint cracks within a year in almost all kitchens. Caulk is flexible and absorbs this movement. Use a color-matched caulk to approximate the grout color. This joint should be recaulked every few years as the caulk ages.

Related Surfaces & Finishes Services